Since I promote the use of e2ee communication approaches due to the frustrating experience brought to me by CMCC , I will write a registration guide for the most endorsed libre IM protocol, Jabber.
First of All: Jabber and XMPP Usually Refer to the Same Thing
Jabber originally referred to the open-source instant messaging protocol that was developed in the late 1990s. Over time, Jabber evolved into XMPP, which is the formalised standard for the protocol. XMPP is maintained by the Internet Engineering Task Force (IETF) and includes a set of specifications that define how messaging and presence information should be exchanged.
Therefore, if you see some people say Jabber, while some people say XMPP, they usually refer to the same thing. I prefer to say Jabber, therefore I will say Jabber in this guide.
Choose a Client
Like many other IMs, Jabber needs a client to operate. Below is a list of popular XMPP clients (refers to xmpp.org, sorted in alphabetical order):
- Beagle IM (macOS)
- Conversations (Android)
- Converse.js (Browser)
- Movim (Browser)
- Dino (GNU/Linux)
- Gajim (GNU/Linux, Windows)
- Monal (macOS, iOS)
- Quicksy (Android)
- Siskin IM (iOS)
- Swift.IM (GNU/Linux, Windows, macOS)
- Yaxim (Android)
For GNU/Linux and Microsoft Windows I recommend Gajim, which is feature-rich and easy to use. For Android I recommend Conversations for the same reason. Since I have neither an iPhone nor a Mac, I cannot give recommendations to iOS users and macOS users, so just go through the list and pick one to your liking. This guide will proceed with Gajim and Conversations.
Gajim Tutorial
Step 1: Obtain Gajim
For GNU/Linux users Gajim is generally already available in your distro’s official repository. For Debian, Trisquel, Ubuntu or other APT-based distros:
$ sudo apt install gajim
Windows users please go to the official website to download the executable.
Step 2: Add an Account
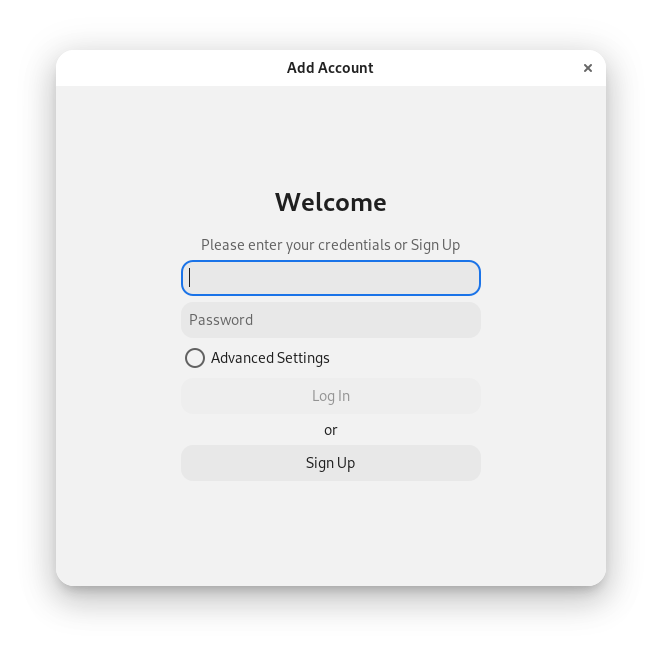
You will be greeted with this window. If you already have an account, fill in your credentials and click Log In, then skip to Step 5. If you don’t have an account, click Sign Up here.
Step 3: Choose a Server
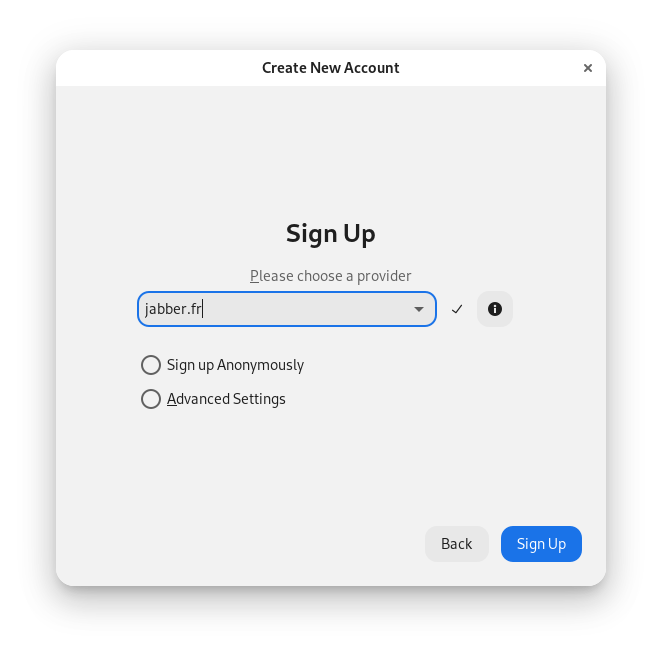
You will be asked to choose a “provider.” A Jabber service provider is where your Jabber account lives, just like your email account lives on your email service provider. If you don’t know which to choose, proceed to this list . I only recommend the servers listed in Category A. In this tutorial we will proceed with jabber.fr.
Step 4: Set a Username and a Password
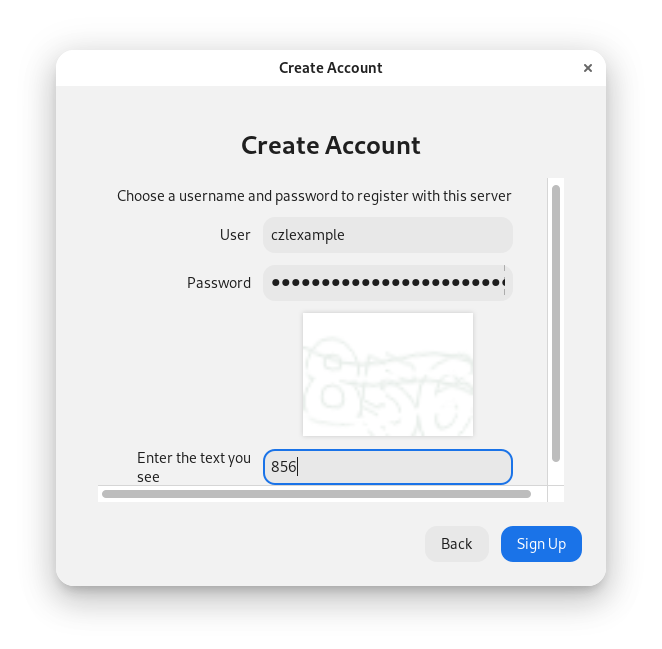
Choose a username and a password. The syntax of JIDs will be username@example.org , following the syntax of email addresses. I suggest a strong password that contains both uppercase and lowercase letters, numbers, symbols, and has a length of at least 60 characters. Once completed, click Sign Up.
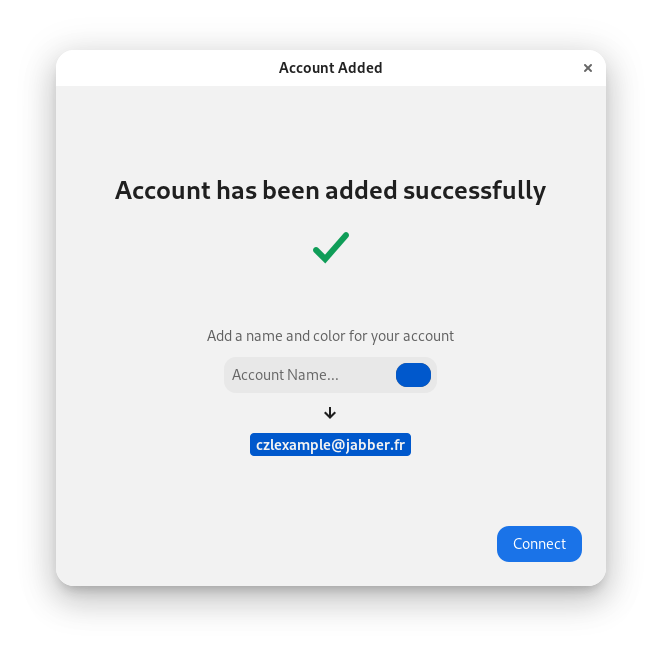
Step 5: Account Added Window
You will see a window that indicates that your account has been added. Click Connect to continue.
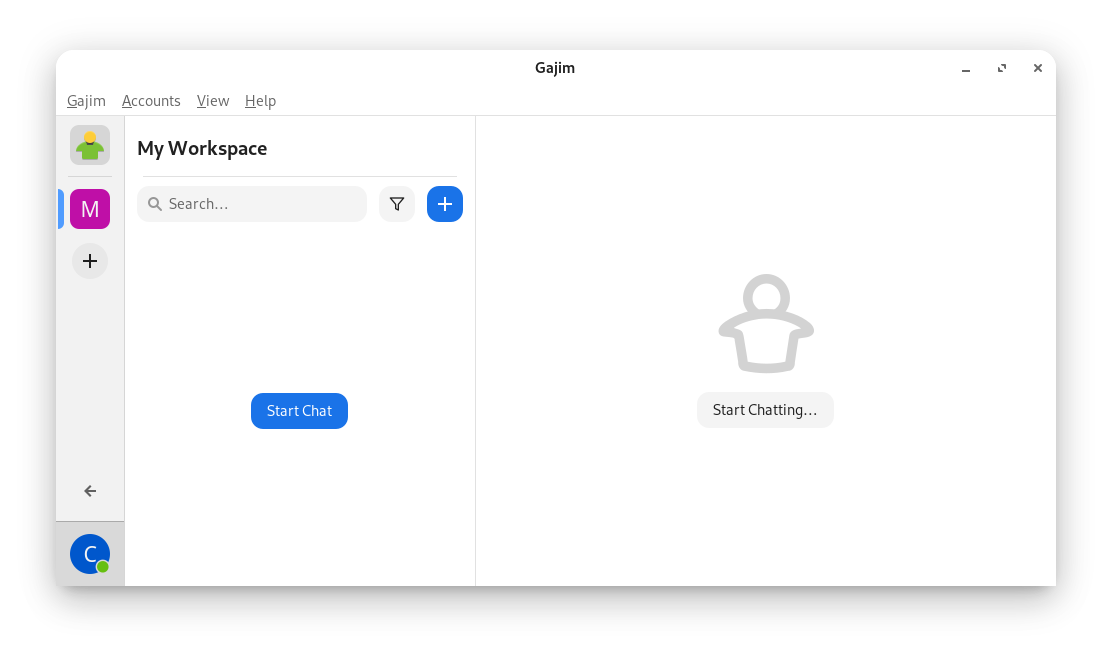
Step 6: Start a Chat and Enable Encryption
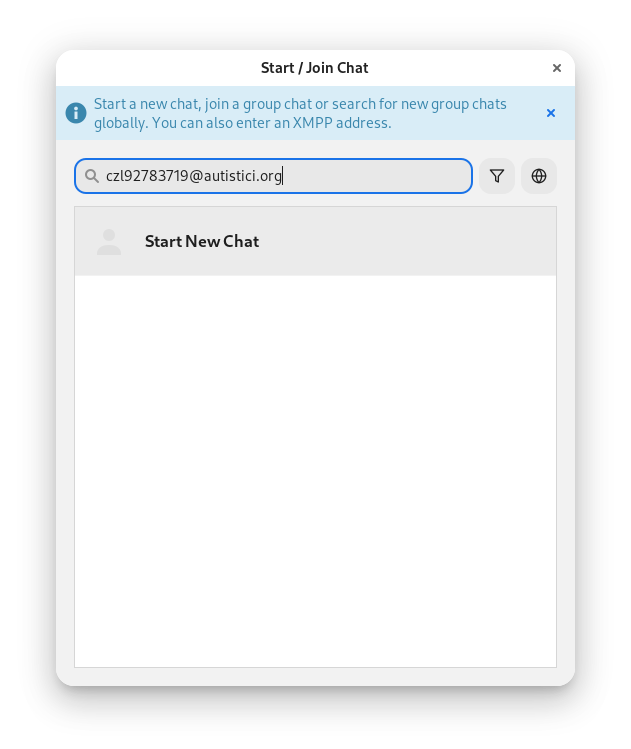
Click “Start Chatting…”, and fill in the JID of the person you want to chat with.
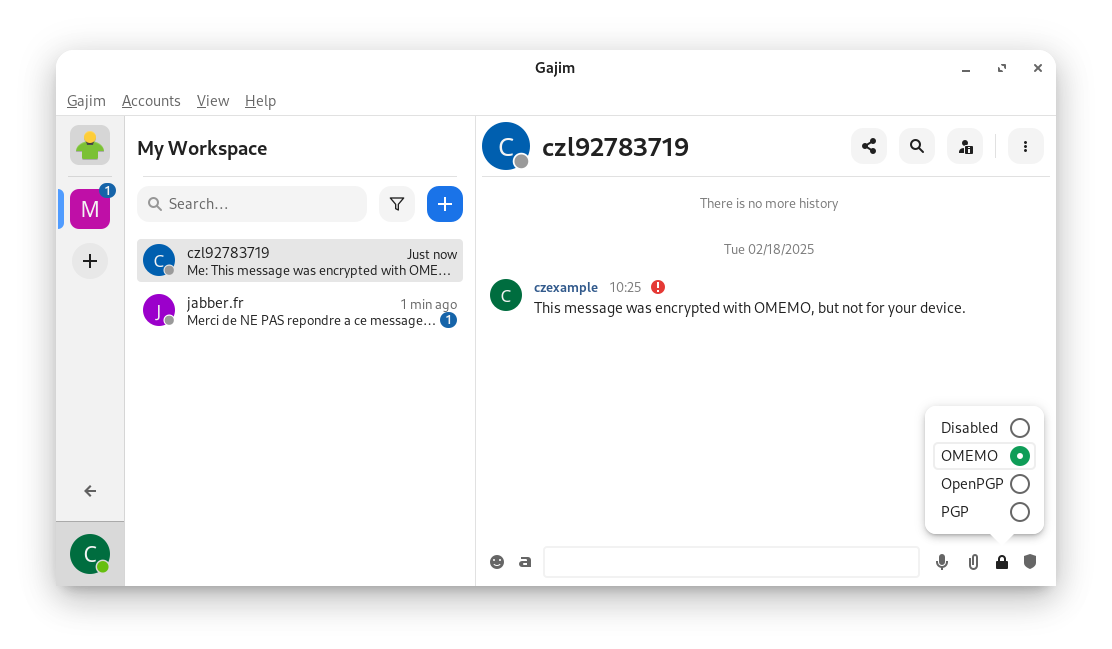
THEN HERE COMES THE MOST IMPORTANT STEP! Gajim doesn’t use end-to-end encryption by default, therefore you should enable encryption every time after adding a contact. Click the lock in the bottom-right corner, and choose OMEMO.
Also, if you add contacts on another client, ENCRYPTION WON’T BE ENABLED ON GAJIM EITHER. THEREFORE, ALWAYS CHECK WHETHER ENCRYPTION IS ENABLED EVERY TIME BEFORE CHATTING WHEN USING GAJIM — IT IS A GOOD HABIT.
That’s it.
Conversations Tutorial
Step 1: Obtain Conversations
First you need to install the client. Conversations is available in the F-Droid official repository .
Step 2: Add an Account
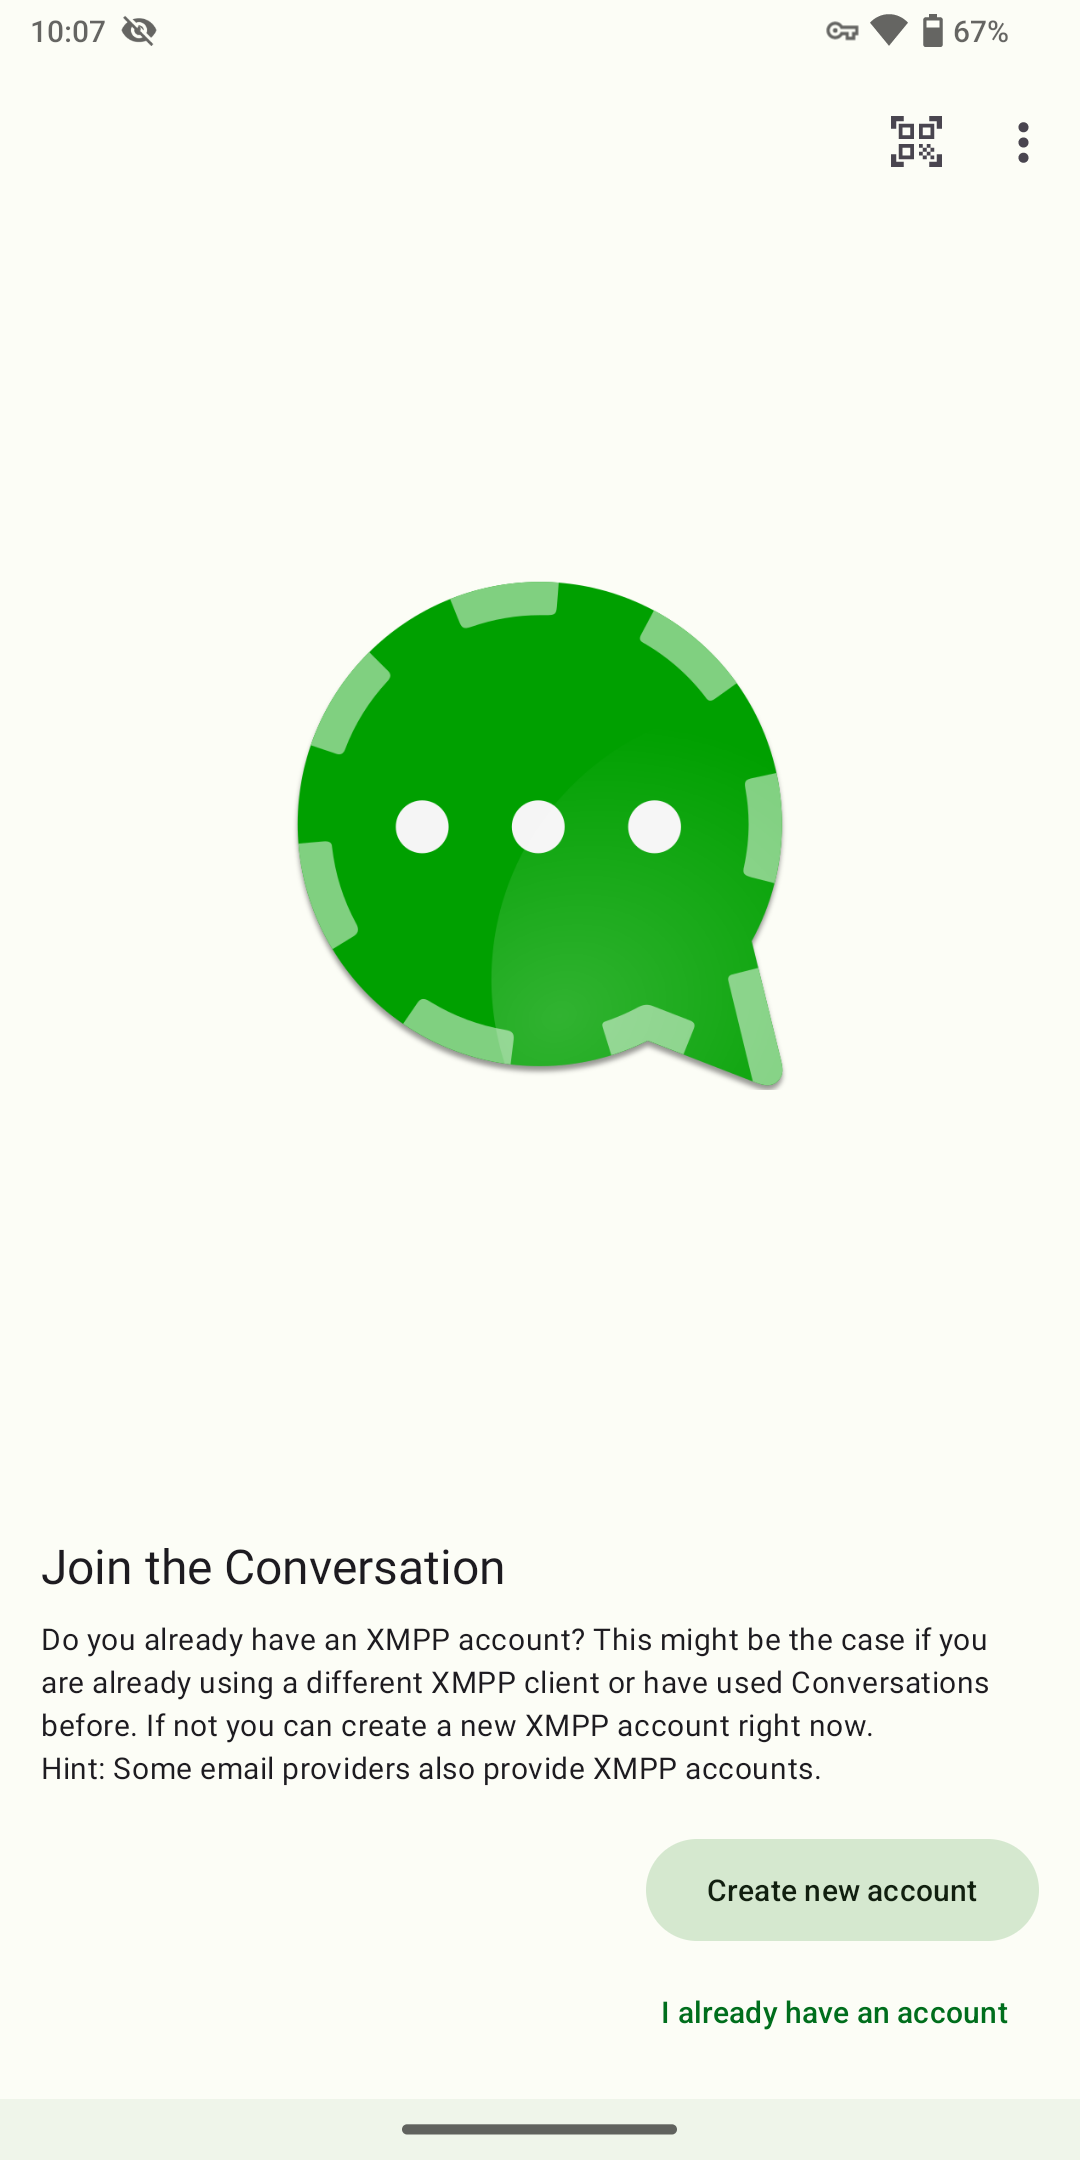
You will be greeted with this screen. If you already have an account, click “I already have an account,” fill in your credentials and click Next, then skip to Step 4. If you don’t have an account, click “Create new account” here.
Step 3: Choose a Server, Set a Username and a Password
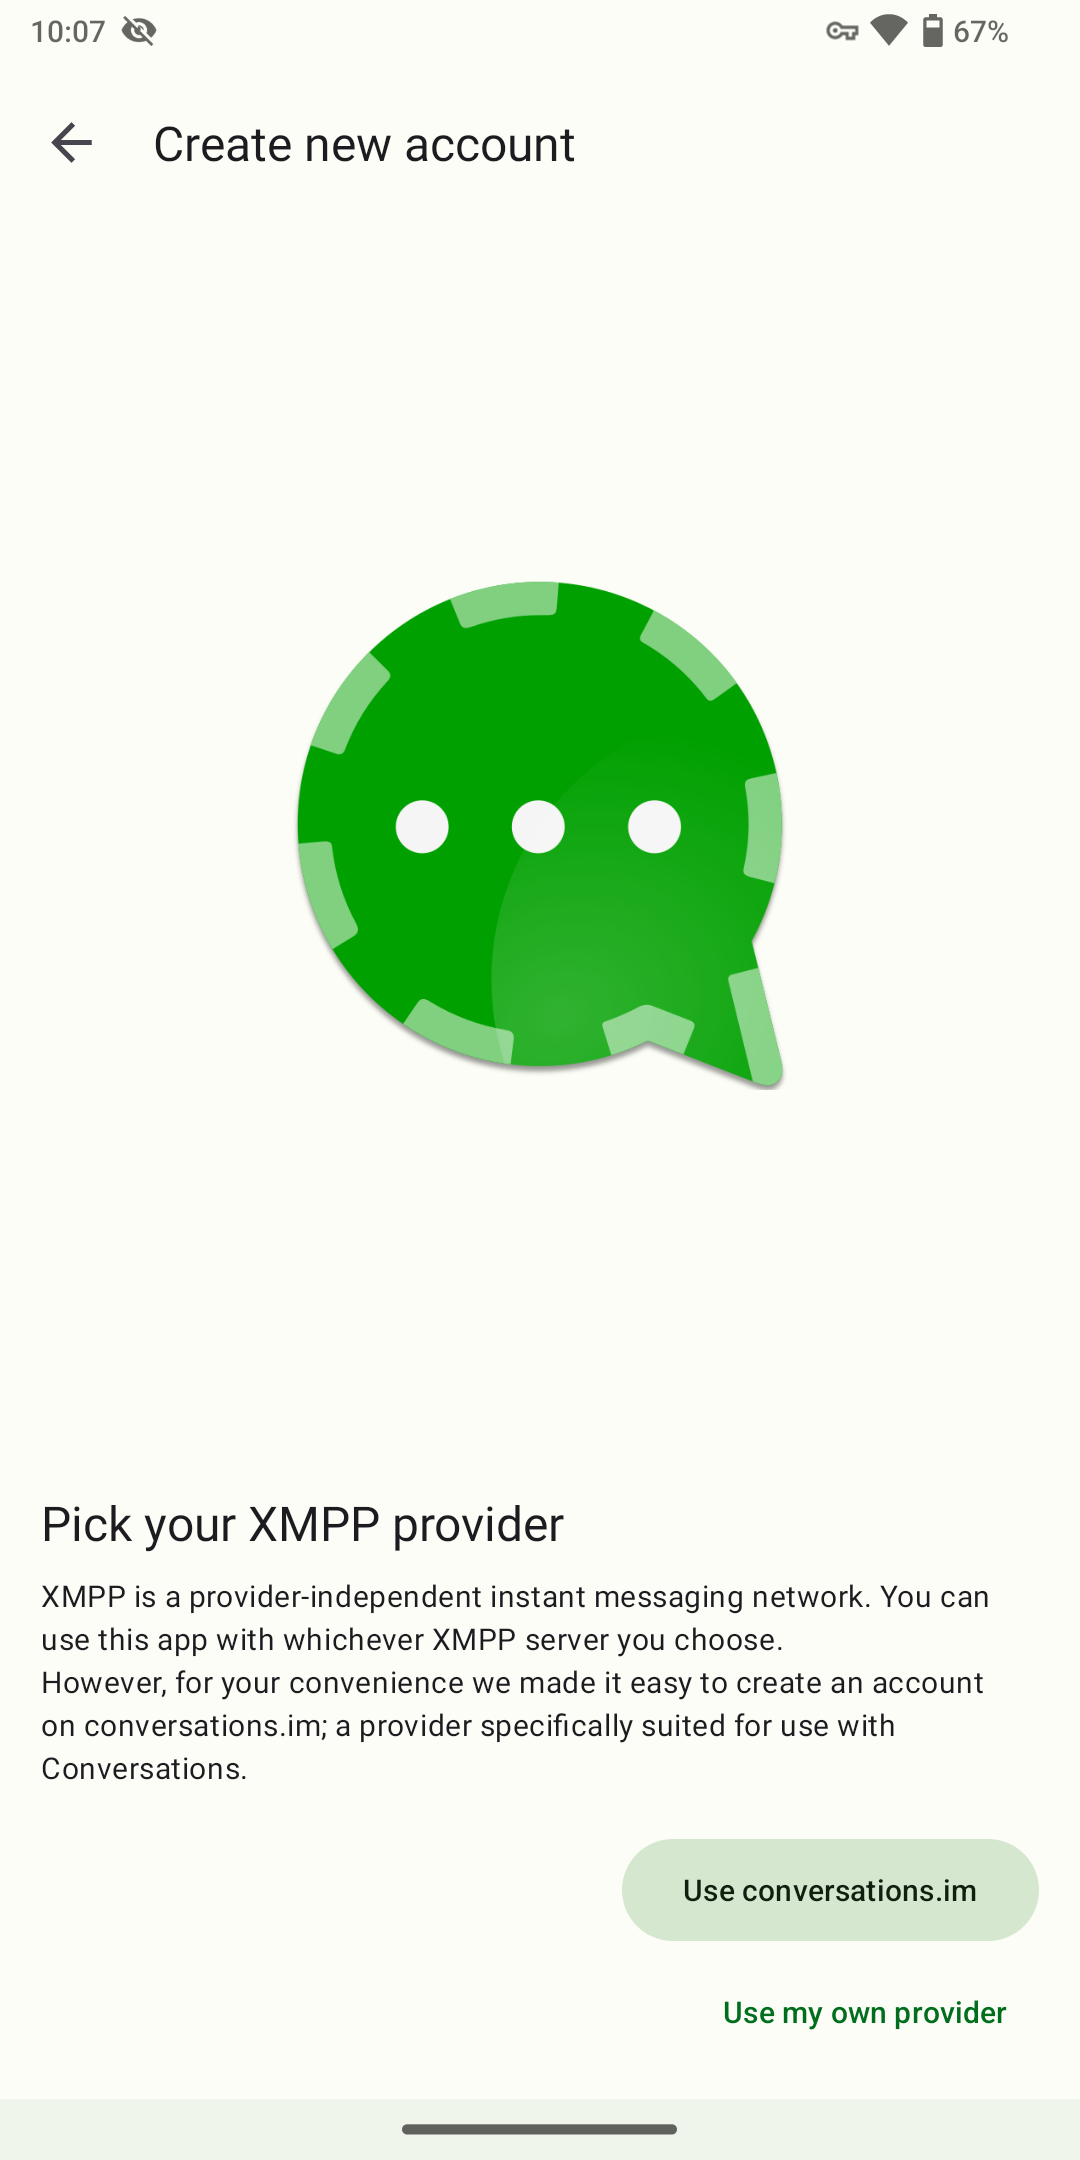
You will be asked to choose a “provider.” A Jabber service provider is where your Jabber account lives, just like your email account lives on your email service provider. If you don’t know which to choose, proceed to this list . I only recommend the servers listed in Category A. In this tutorial we will proceed with jabber.fr. Click “Use my own provider.”
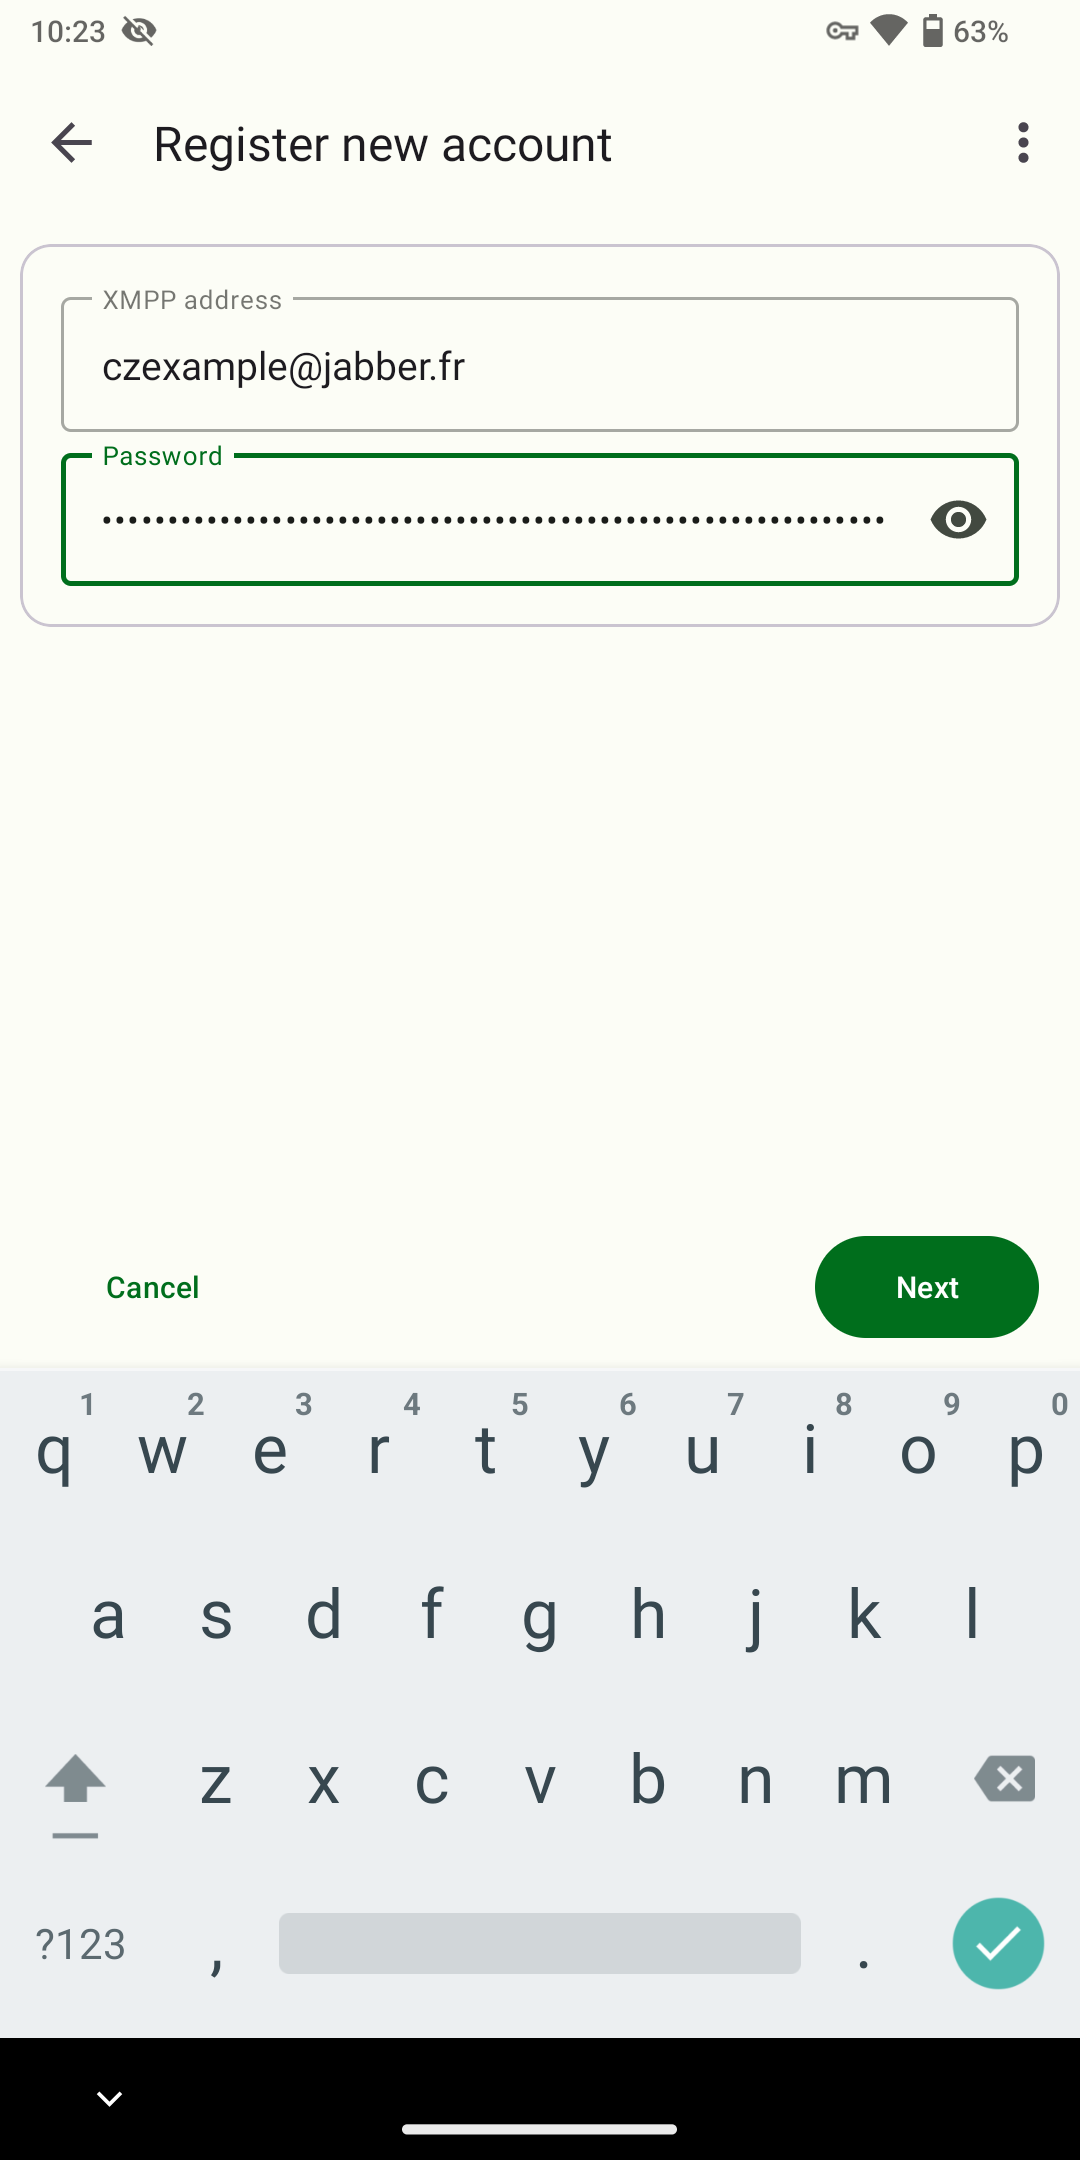
Choose a username and a password, and fill in the XMPP address (aka. JID) in the syntax of username@example.org , following the syntax of email addresses. I suggest a strong password that contains both uppercase and lowercase letters, numbers, symbols, and has a length of at least 60 characters. Once completed, click Sign Up.
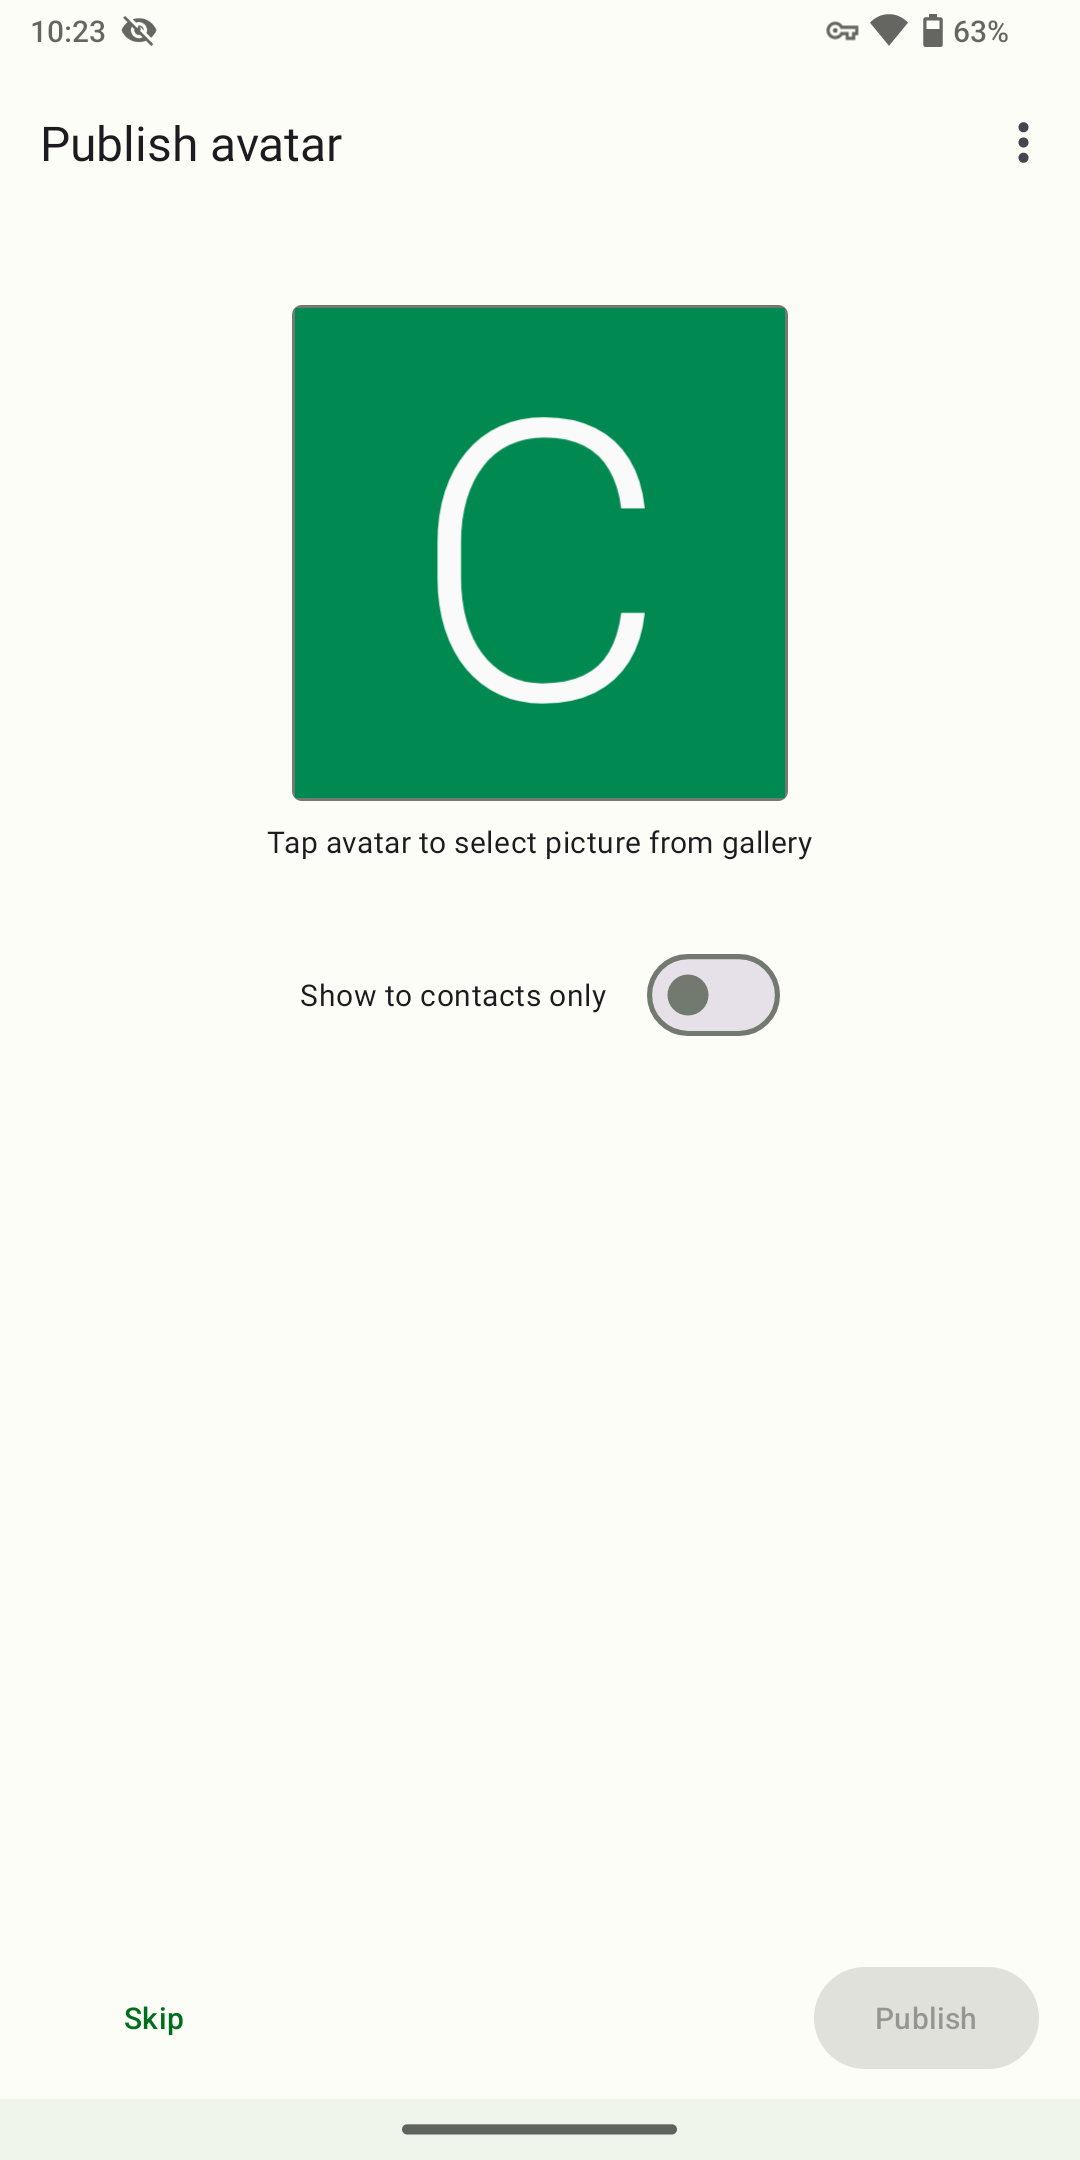
Step 4: Publish an Avatar
Here you can publish an avatar for your Jabber account. Or if you don’t want to, just click Skip.
Step 5: Start a Chat
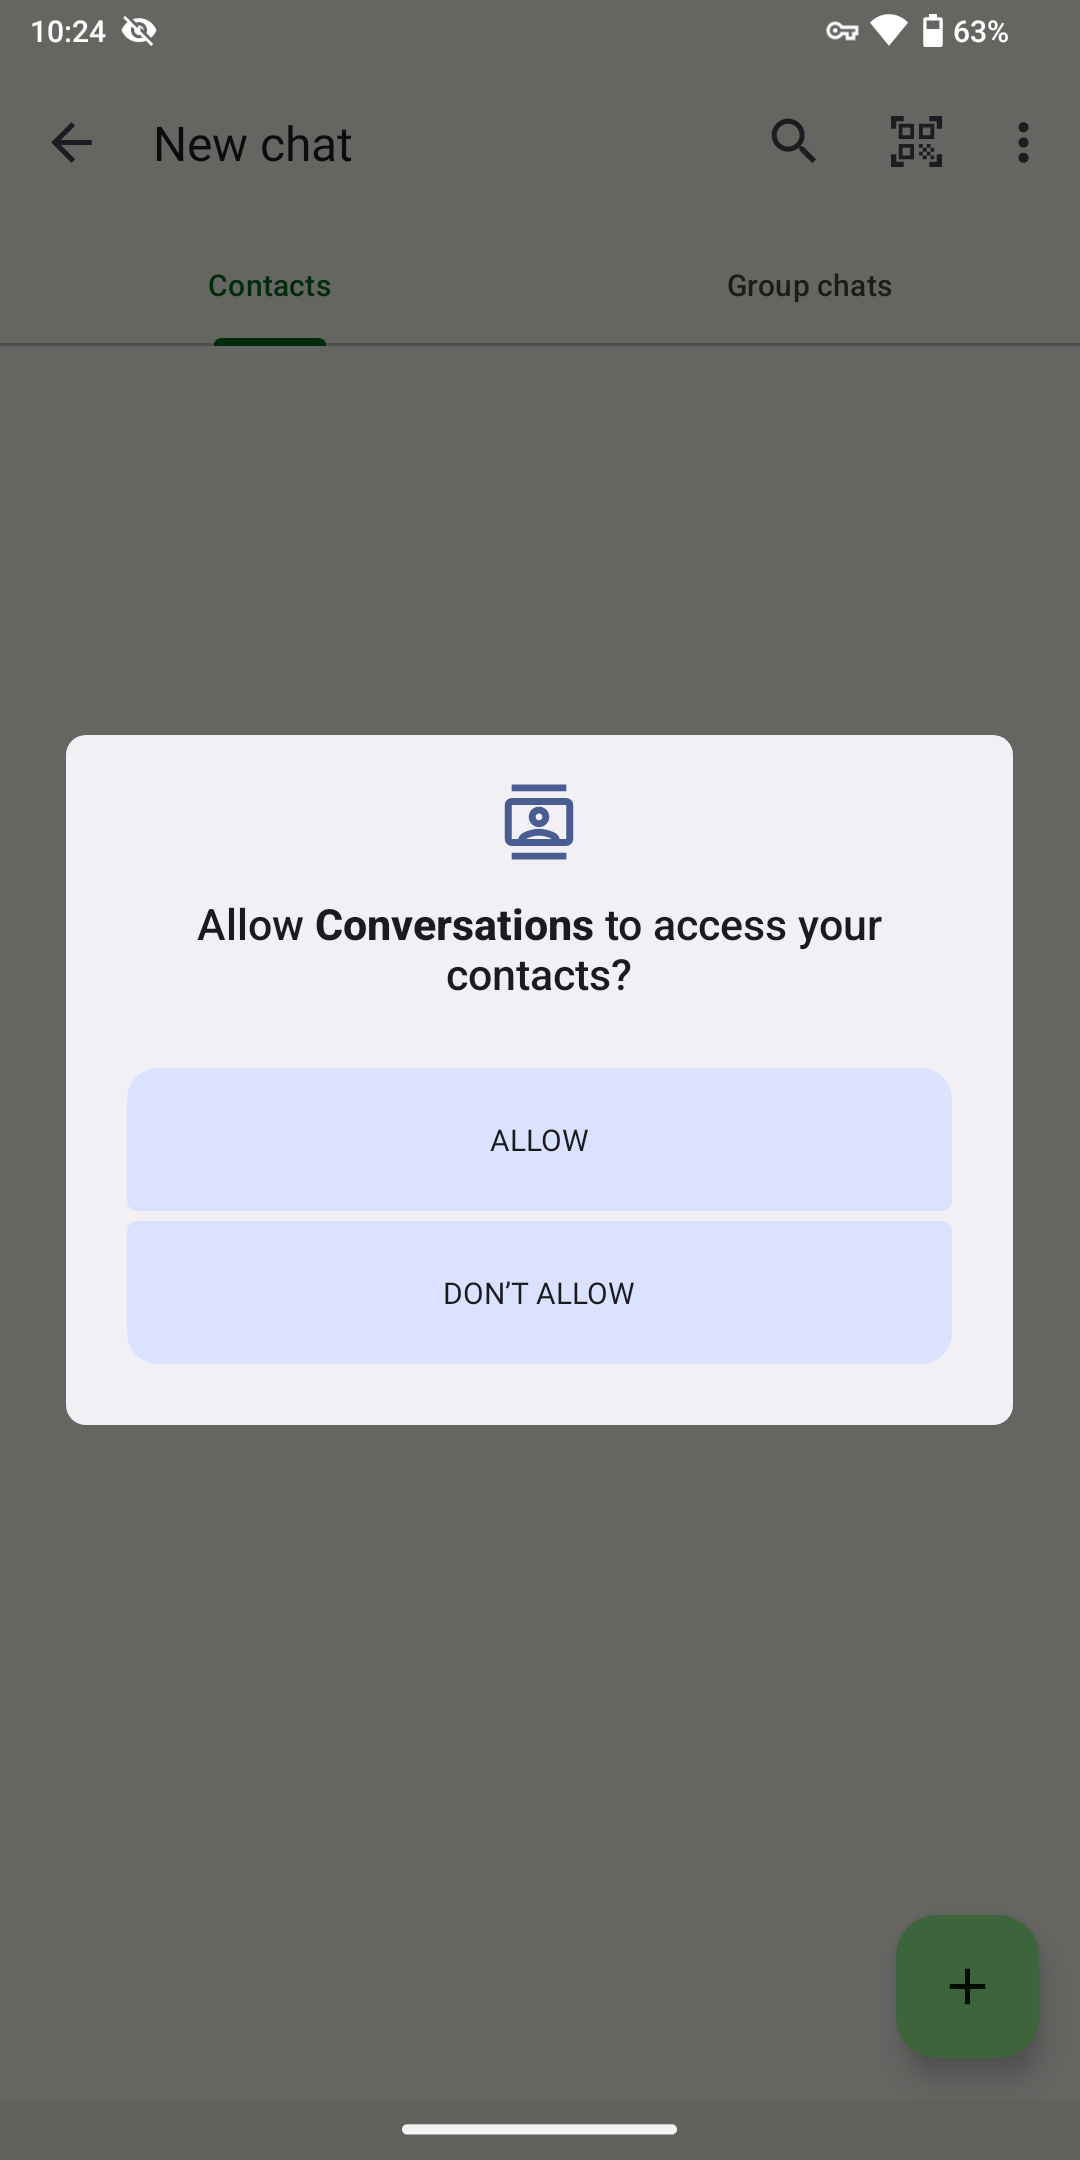
If Conversations asks you for any permissions, just grant them.
That’s it.
Click the “+” icon, choose “Add contact,” and fill in the JID of the person you want to chat with. Conversations uses OMEMO by default, so with Conversations you don’t need to explicitly enable encryption every time you start a chat.

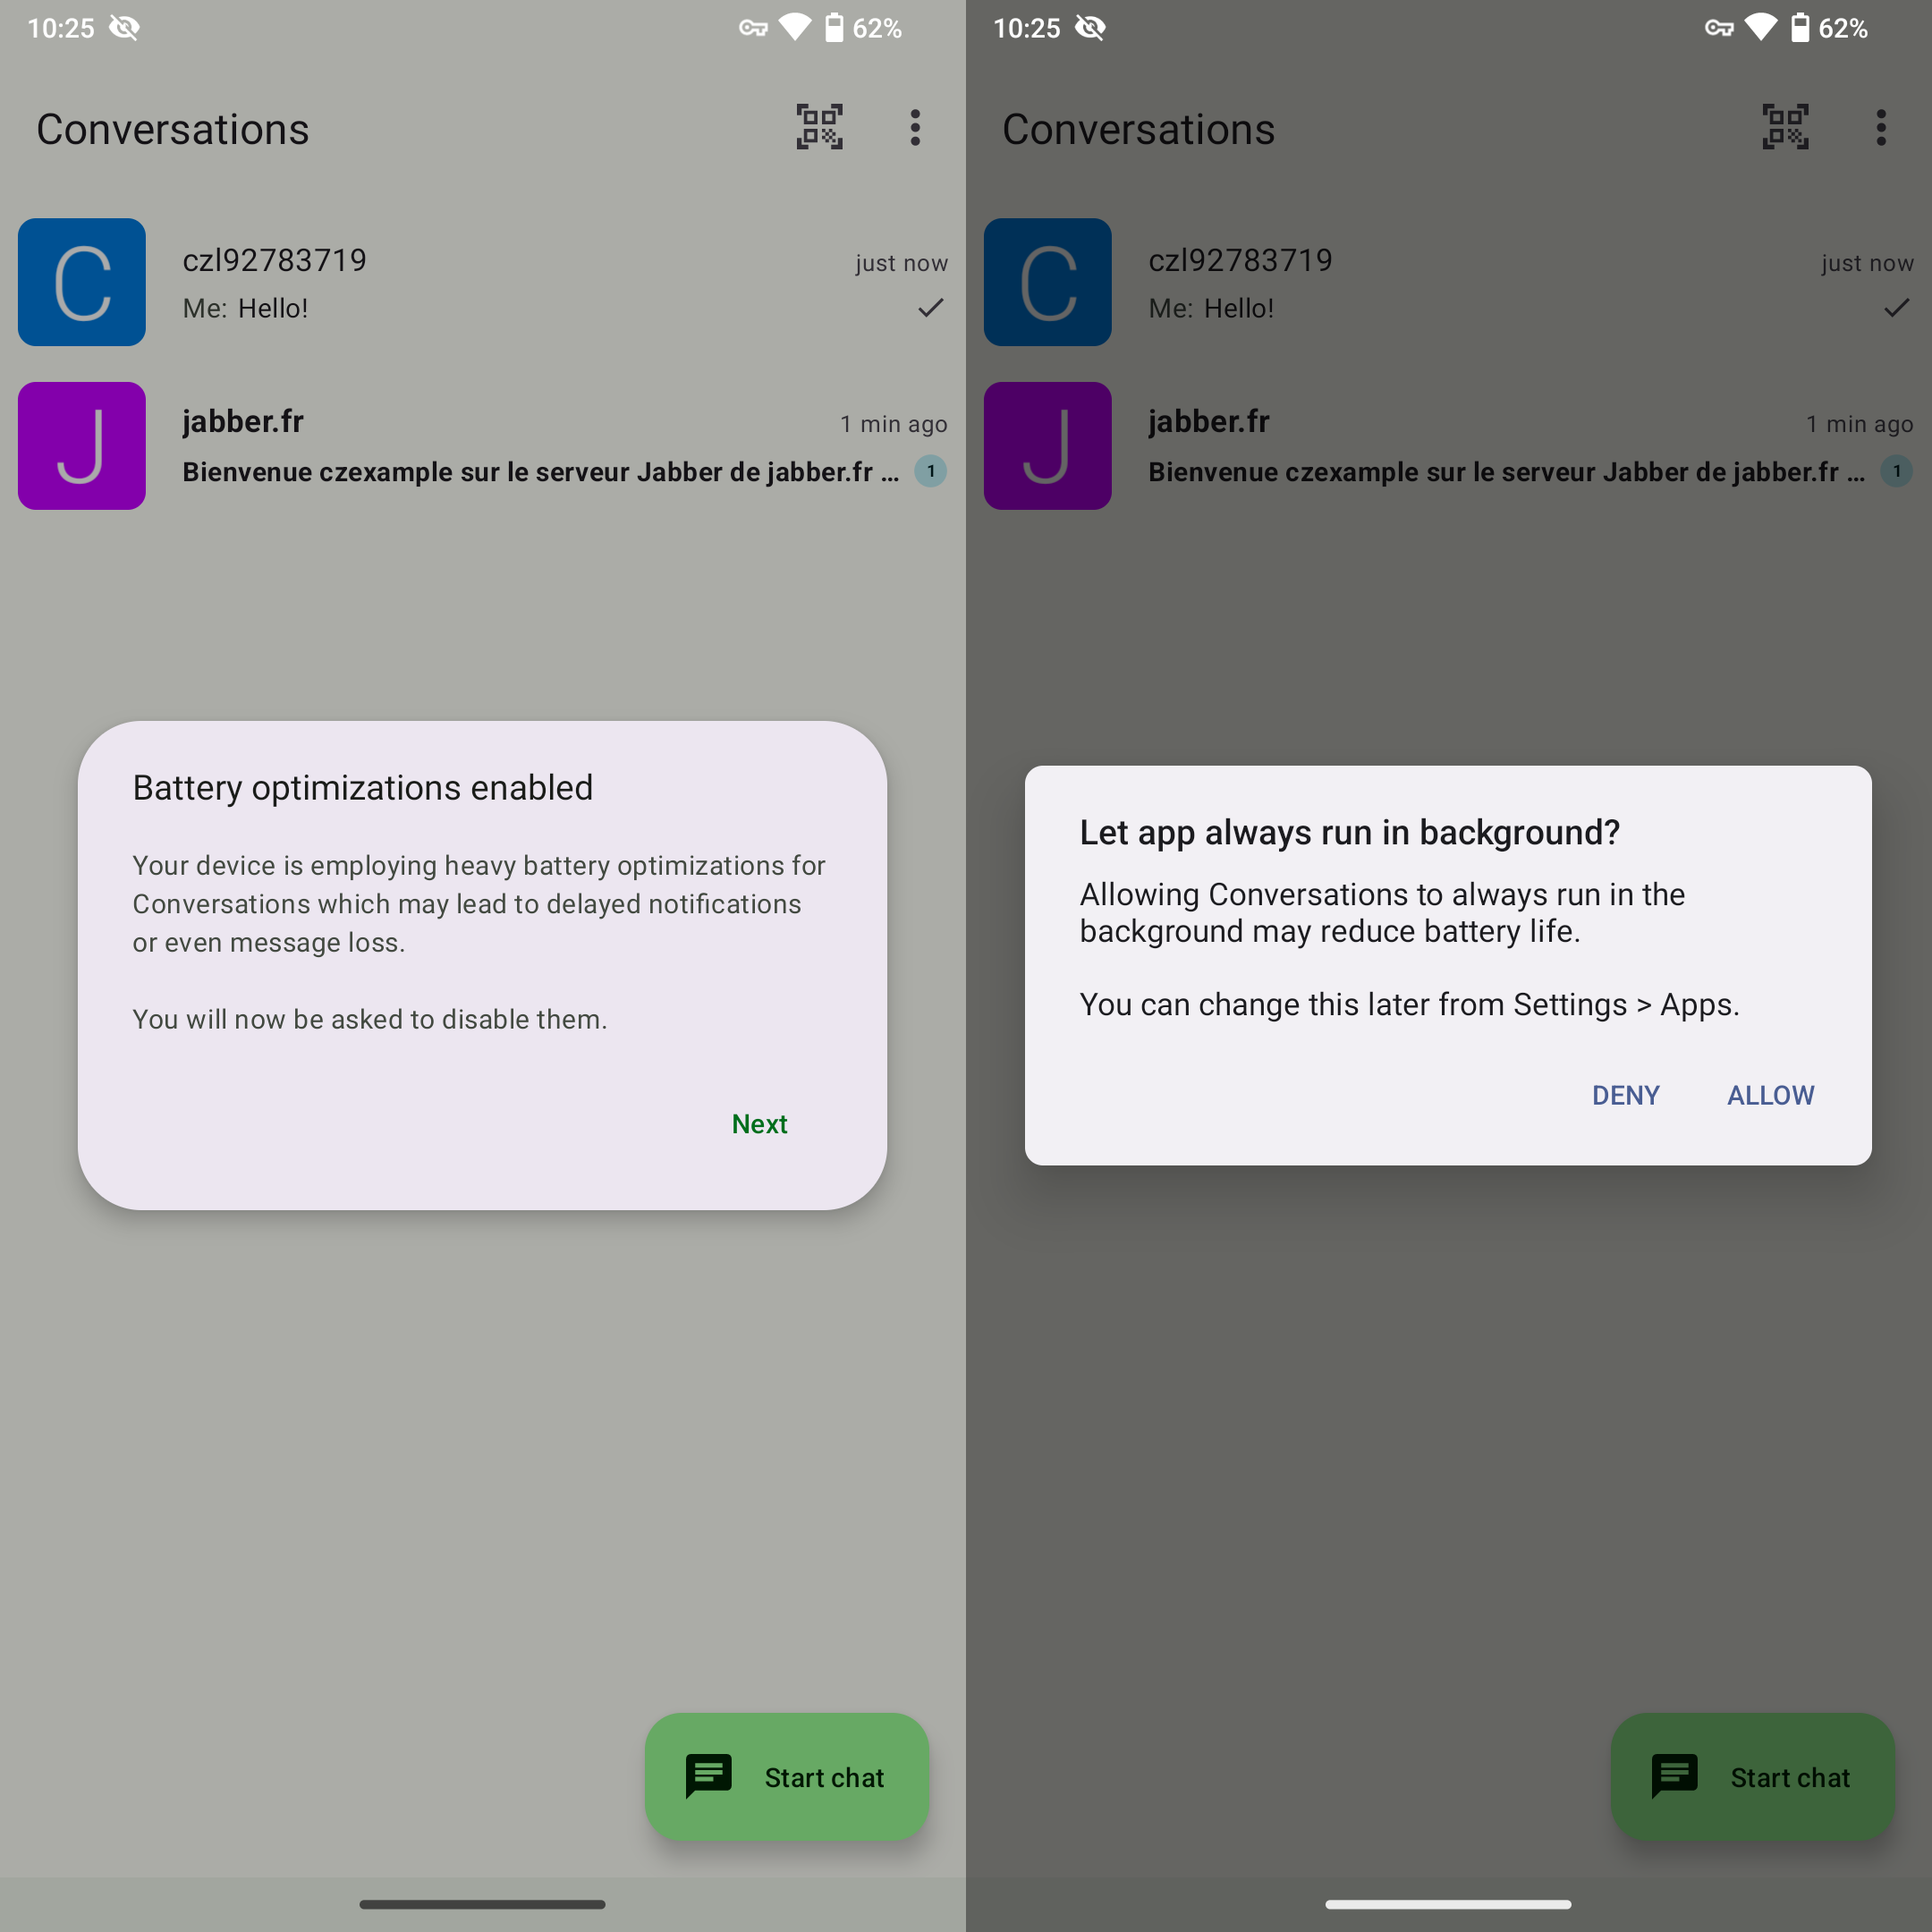
Step 6: Disable Battery Optimisations
After going back to the main screen, you will see a window asking you to disable battery optimisations. Click Next and then Allow to disable battery optimisations, allowing Conversations to fetch new messages in the background.